Buttons, meet your maker!
Part one - Removing the protective foil
The first step is to peel off the protective foil from all of the acrylic casings.

Remember to remove the foil from the other side as well.

Once you remove the foil from both sides, the casing should be completely transparent.

Part two - Speaker
For the next step, take the speaker, PCB and the smallest acrylic casing:

Take the connector on your speaker, and connect it here:

This is how the casing should be put on the board:

But first, make sure you remove the speaker's sticky protection:

Stick the sticky side of the speaker to the casing, like this:

Attach everything on the board so that the holes in the casing and the PCB line up:

Put this aside for a moment.
Part three - Battery holder
Now, take the battery holder, two metal screws and two standoffs.

Put the metal screws into the battery holder like this:


The next step is to take the standoffs and fasten the screws with them.


This is what your battery holder should look like right now:


Take the PCB and the speaker you put aside and connect it with the battery holder like this:

Make sure to turn the battery holder this way (so that the wire is turned up) so you can easily attach it to the battery connector.

Connect the battery holder to the PCB:


To secure your battery holder from falling off, take two standoffs and fasten them using your fingers.


Part four - Pushbuttons
Let's put the pushbuttons into use!
These are the components you'll need now:

Put the casing on the PCB like this:

Now, take one pushbutton at a time, and place it into the holes in the casing:


Don't worry if they look tilted right now; the upper casings will take care of that.
Part five - Case up
Take the rest of the casings, four black bolts and four standoffs.

Put one of the casings like this:

Take the bolts and put them into the holes under the Buttons' arms and legs:

Take the standoffs, and flip Buttons around:
You can fasten it with your fingers.
This is what your Buttons should look like right now:

Part six - Batteries
Take three AA batteries you got in the set and put them into the battery holder:
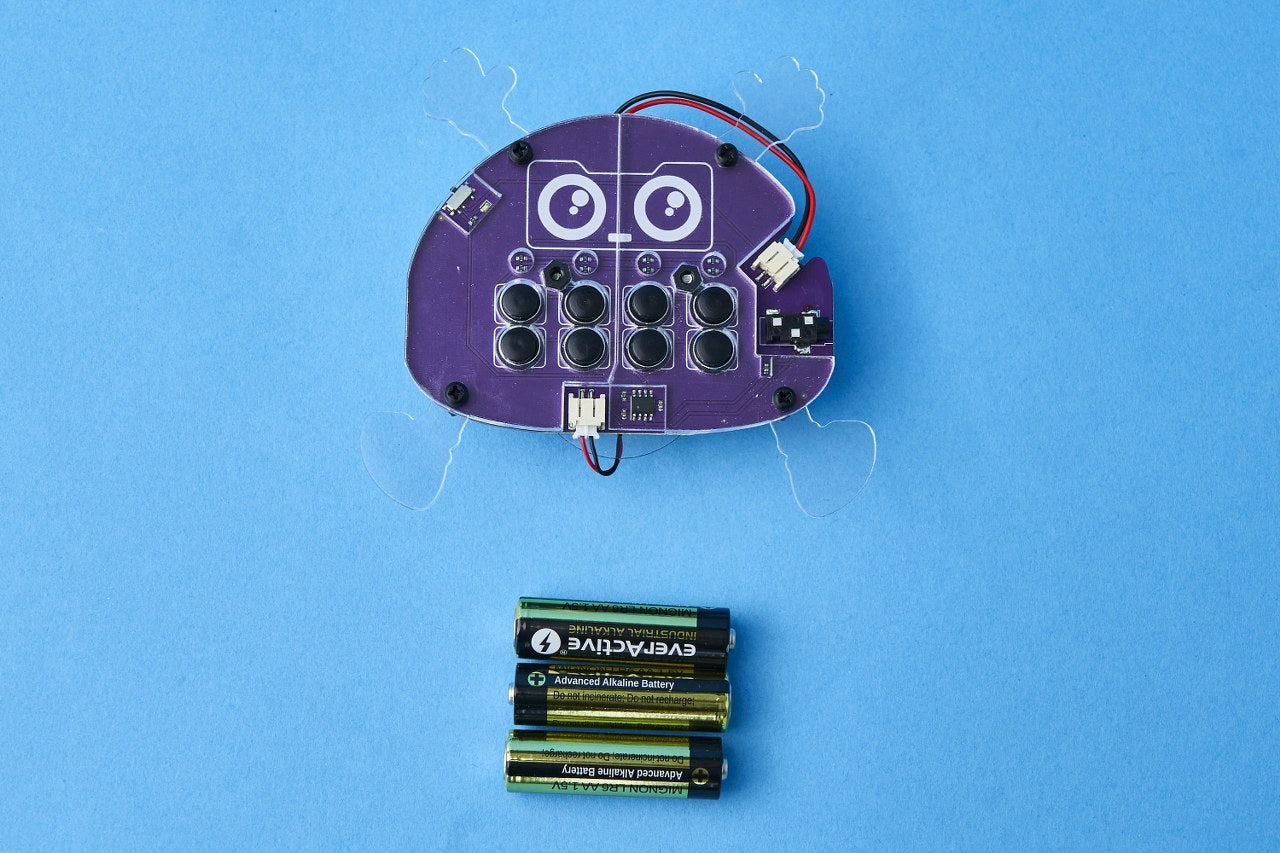
Make sure to check the polarities of the batteries!
The batteries are marked with two symbols - plus (+) and minus (-), which represent the polarity of the battery. The plus (+) part has a little metal bulge at the end of it, while the minus (-) part has a little dent. This is really important since when inserting the batteries you’ll have to be careful about which side goes where.


Part seven - Stickers
Now is the most fun part!
Take the stickers and give your Buttons boots and gloves.


Your Buttons looks amazing, doesn't it?

Congrats!
You successfully built your Wacky Robot.